
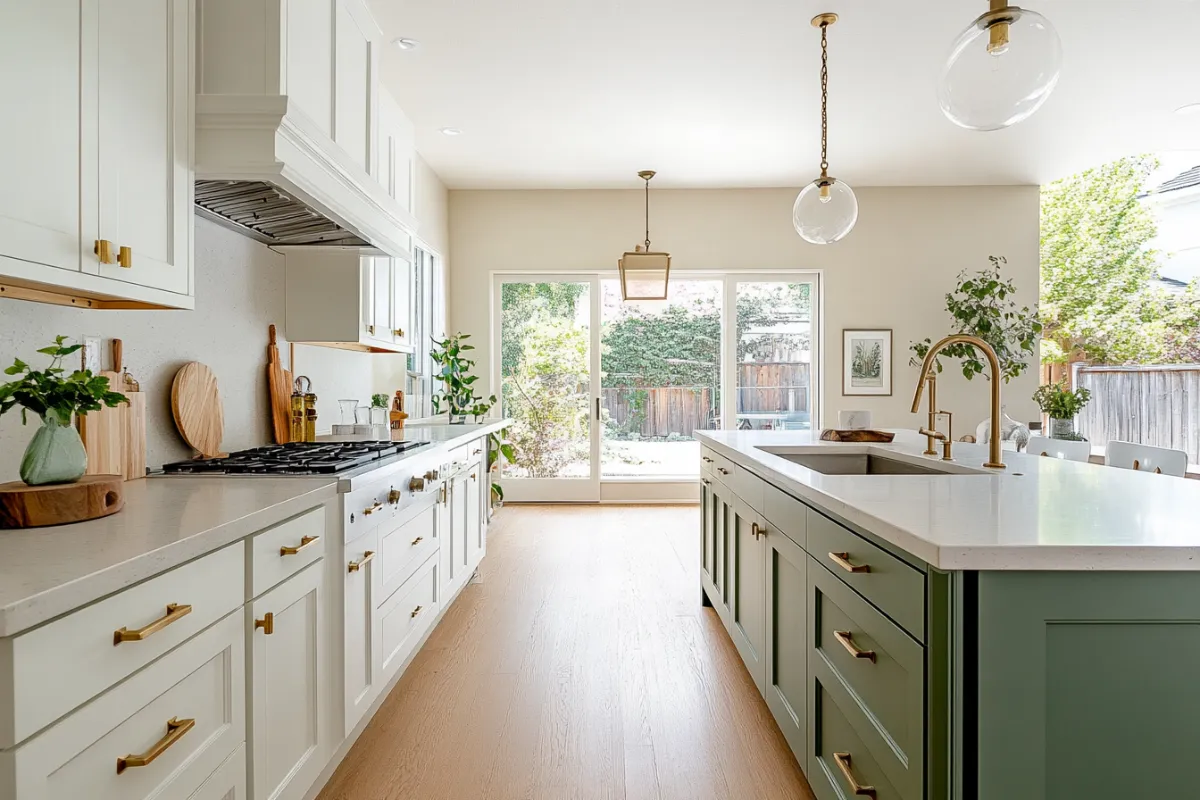
Plenty of valley kitchens are in decent shape except for the cabinets. The boxes hold up fine and the layout works, but the doors are a honey oak from the 1990s, or a white that's gone yellow around the handles. In American Canyon, many homes still have the original builder cabinets, and in older houses around Napa, it's common to find painted cabinets with several layers already on them, some chipping at the edges. Tearing them all out to fix what's mostly a color problem costs a lot and shuts down the kitchen for weeks.
Free Estimate
Rather talk? Call (707) 520-6736
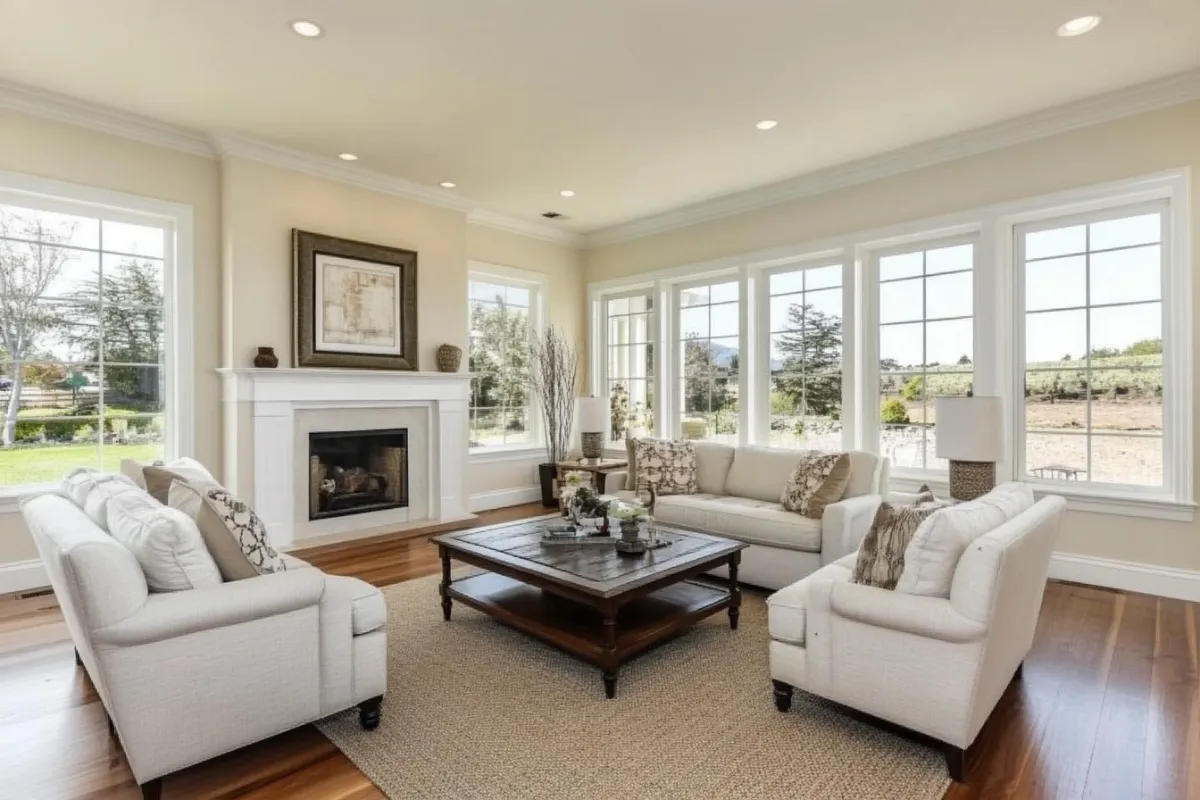
Painting is the middle path. Below, we cover why the door material matters, how a sprayed finish compares with a brushed one, how a job runs from taking the doors off to hanging them back up, and how to pick a color you'll still like in ten years. Most kitchens are back in full use within a week. Pair it with fresh interior painting on the kitchen walls and the room looks new.
What Your Cabinets Are Made Of Matters
The first thing we check at the estimate is the material, because it decides the prep. Solid wood doors, like oak, maple and alder, take paint well once they're cleaned and scuffed. Oak has deep grain that shows through unless it's filled, so we'll ask whether you want that texture or a smooth face. MDF doors are smooth and stable and hold paint nicely, though their raw edges soak up primer and need an extra coat. Wood veneer over plywood or particleboard paints well as long as the veneer is firmly glued down. Lifting edges get reglued first. Thermofoil, the vinyl-wrapped doors common in some 1990s and early 2000s kitchens, is a different story: if the wrap is peeling or bubbling near the oven, paint won't fix it, and the fix is new doors, painted to match the rest. That's still far cheaper than a full set of new cabinets. Cabinets that already have paint on them need a closer look. If the old layers are chipping, they may need to be sanded back. And if the existing finish turns out to be oil-based, it needs a bonding primer before anything water-based will stick.
Sprayed vs. Brushed Finishes
How the paint goes on makes a big difference in how it looks up close. A brushed finish can be good, but even careful brushwork leaves faint lines in the direction of the stroke, and those show when light rakes across a door. Spraying lays the paint down as a fine, even film with no brush marks, which is why it looks closer to a factory finish. We spray doors and drawer fronts flat, away from the kitchen, so the paint levels out without running. Cabinet boxes and face frames stay in place and are sprayed or rolled and tipped with a fine finishing brush, depending on how much masking the room can take. The paint itself is a cabinet-grade enamel, a urethane-modified acrylic or waterborne alkyd that cures much harder than wall paint and resists chipping around the handles.
From Teardown to Reinstall
On day one, every door and drawer front gets a number, the hardware comes off into labeled bags, and the doors leave for the spray area. In the kitchen, we cover counters, floors, appliances and the backsplash. Then comes the most important step: degreasing. Cooking oil builds up on cabinets, especially within a few feet of the stove, and nothing bonds to it, so everything is scrubbed with a degreaser and rinsed. Next we scuff-sand all surfaces, fill dents and old hardware holes if you're changing pulls, and caulk gaps along the face frames. A bonding primer goes on, then two coats of enamel, with light sanding between coats. Doors cure before they're handled. At the end, the doors go back up on their original hinges, adjusted so they close evenly, and every pull goes back where it came from.
Picking a Color That Lasts
Cabinets are a bigger commitment than walls, so the color needs to work with things you're not changing. Hold samples next to your countertop, backsplash and floor, under your kitchen's own light. Whites look very different from one another in person. A bright white can feel cold against warm granite, while a soft white or a light greige blends in. Two-tone kitchens, with uppers in a light color and lowers or the island in something deeper, are popular and forgiving, since the darker base hides scuffs from shoes and pets. Deep greens and navy blues look great, but they show dust and fingerprints more than mid-tones do. If you can't decide, paint a sample board and look at it at night and in the morning before committing. Hardware matters here too. Brushed brass and black pulls read warmer or bolder against different colors, so it helps to hold your new pulls up to the samples at the same time.
If the outside of the house is due too, our exterior house painting page covers how we prep siding and trim.
Common Questions
Yes, and it's one of the easiest ways to make a kitchen feel custom. We'll paint the island, or all the lower cabinets, in a second color, and keep the uppers lighter. It adds very little to the job, since the doors are already coming off and getting prepped. Pick the two colors together, side by side with your countertop, so they work as a pair and not as two separate choices.
Usually not, unless you ask. Most cabinet interiors have a factory finish that's fine as is, and painting them adds time, since every shelf has to come out and dry before it can hold dishes again. If you have glass-front doors or open shelving where the inside shows, we'll paint those boxes to match. The back edges of doors are always painted, since you see them every time a door opens.
Go easy at first. The enamel keeps hardening for a few weeks after we finish, so during that time, wipe spills with a soft damp cloth and avoid scrubbing. After that, warm water with a little dish soap handles almost everything. Skip abrasive pads, magic erasers and strong cleaners with ammonia, because they dull the sheen over time. Wipe up grease around the stove regularly, so it doesn't build up and become hard to remove.